
Creating an Account
To set up your account and make a payment in the new system, you will need to:
- Register your account
- Add your Municipal Services Bill account for your property
- Make a payment, schedule a future payment, or enroll in auto-pay.
If you experience technical difficulties, you may want to clear your browser cache. Learn how to clear the cache for each browser:
Register Your Account
- Go to cityofmadison.com/epayment/water. This will refer you to www.municipalonlinepayments.com/cityofmadisonwi/utilities
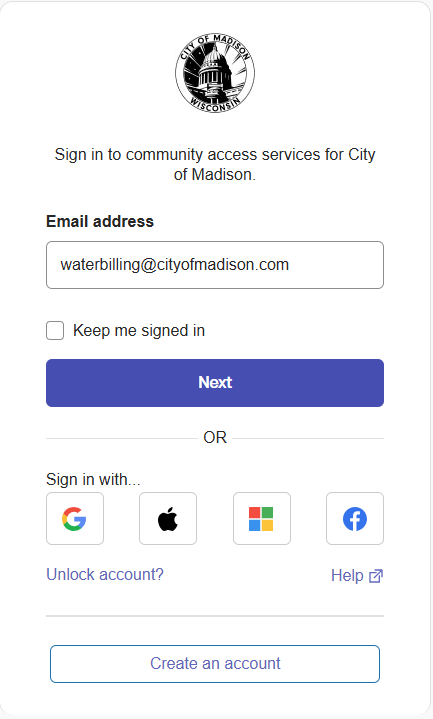
Click on “Sign in / Register” in the top right corner. This will refer you to identity.tylerportico.com.

To create a new account, click on “Create an account” at the bottom of the page.
Enter your email, your name, phone number (optional), and a password of your choice.
Your password must have at least 8 characters, and must contain at least one number, one lowercase letter, and one uppercase letter.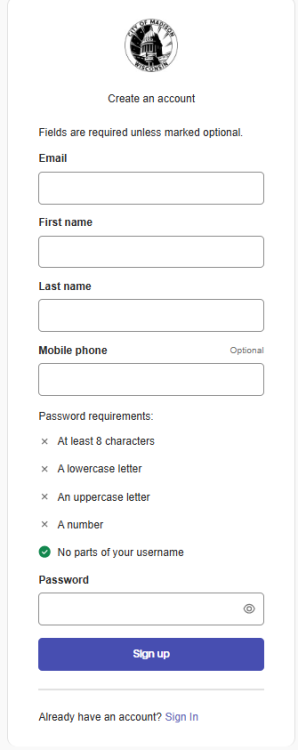
Go to your email inbox. You will receive a verification email from “Community Access Identity (noreply@identity.tylerportico.com)”, with the subject line “Welcome to your Community Access account”. Copy the code provided.
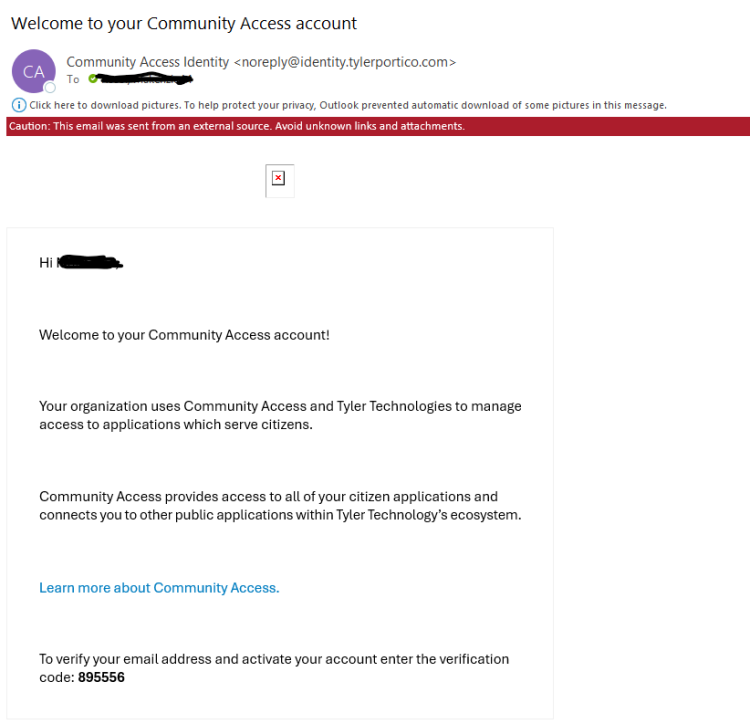
To verify your email address and activate your account enter the verification code provided.

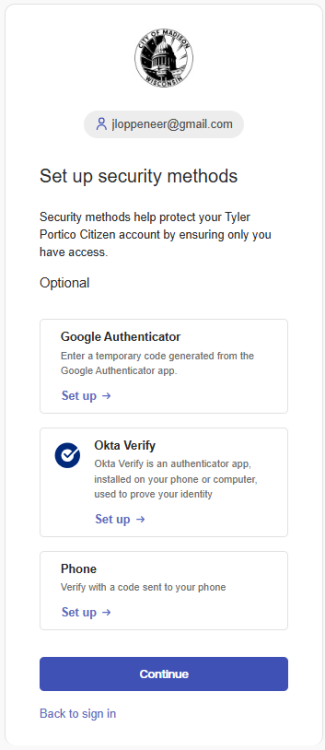
Once you register for an account, you do not have to choose any of these options shown (below). Simply hit "continue" to log in and follow the steps to add your account to the online portal.
If you are prompted, enter your password to verify and activate your account. Click on “Municipal Services”. This will return you to the Municipal Services billing page.

Add Your Municipal Services Bill Account
Once you have created your account, you'll need to connect it to your bills.
Once you are logged in and have returned to the Municipal Services billing page, click “Add account”.

Enter your Account Number and Customer Number.


- You can find these numbers are on your bill in the top right corner.
- Your Account Number starts with “000” (second line on your bill).
- Your new Customer Number is a "1", followed by your old customer number (first line on your bill).
- If you do not know your account and customer numbers, please contact us at 608-266-4641 or municipalbilling@cityofmadison.com.
Adding Multiple Accounts
If you have bills for multiple properties, you'll need to add each account. To add multiple accounts:
Go to Add or remove accounts in the left sidebar.
Click Add Account on the Add or remove accounts page.

- Enter the Account and Customer Numbers for each additional account.
Enroll in Auto-Pay
Go to cityofmadison.com/epayment/water and log in. On the right side of the page, click “Enroll in auto-pay”.

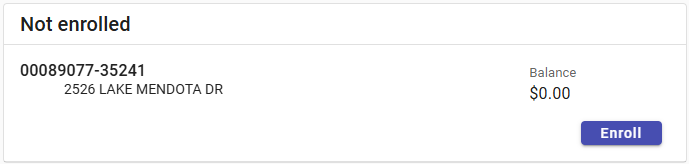
Click “Enroll” next to the bill account you would like to set up with auto-pay.
Select a Payment Day. Choose when you would like your auto-pay to be charged (drafted).

Select a Payment Method. You can pay by credit card, or set up checking or savings account withdrawals (eCheck).

- Credit and Debit Card payments have a $2.95 service fee.
- There is no fee for eCheck payments using auto-pay.
- Click “Enroll Now”. You are now enrolled in auto-pay.